大概三年前搭建过个人博客,写了点零碎的文章,后面一直处于荒废状态。现在换了新的MacBook想折腾一下,于是start from scratch,从头开始建博客。这次使用hugo加Github Page的划算组合,因为有经验所以框架很快弄完,大部分时间都用来“装修”了。搜索了不少博主的装修心得,最后选择主题是stack(感谢作者!)。
基建部分
两个仓库:存储源码的源仓库和一个用于github page网页部署的仓库。每次更新文章并运行hugo,生成的静态网页内容会存到public文件夹,只需要将public关联到github page仓库即可完成发布。
具体过程可看如何用 GitHub Pages + Hugo 搭建个人博客
主题修改
我需要的功能主题基本都提供了,只是根据喜好做了点小的修改。基本方法是在浏览器检查不满意的地方,找到对应的类然后去修改代码。
更换字体
修改正文字体(layouts/partials/head/custom.html)
 1
 2
 3
 4
 5
 6
 7
 8
 9
10
11
12
13
14
15
16
17
18
|
<style>
  /* Overwrite CSS variable */
  :root {
    --article-font-family: 'Noto Serif HK', var(--base-font-family);
  }
</style>

<script>
  ;(function () {
    const customFont = document.createElement('link')
    customFont.href =
      'https://fonts.googleapis.com/css2?family=Noto+Serif+HK:wght@300;400;500;600;700&display=swap'
    customFont.type = 'text/css'
    customFont.rel = 'stylesheet'

    document.head.appendChild(customFont)
  })()
</script>
|
修改全站字体(assets/scss/variables.scss)
 1
 2
 3
 4
 5
 6
 7
 8
 9
10
11
|
/**
*   Global font family
*/
:root {
    --sys-font-family: 'Noto Serif HK', -apple-system, BlinkMacSystemFont,
      'Segoe UI', 'Droid Sans', 'Helvetica Neue';
    --zh-font-family: 'Noto Serif HK', 'Hiragino Sans GB', 'Droid Sans Fallback',
      'Microsoft YaHei';
    --base-font-family: 'Noto Serif HK', var(--sys-font-family);
    --code-font-family: Menlo, Monaco, Consolas, "Courier New", monospace;
  }
|
解决标点出现在中文字符的中间位置而不是右下角的问题。
显示归档页面副标题
添加"article-subtitle"样式(assets/scss/partials/article.scss)
1
2
3
4
5
6
7
8
|
.article-subtitle {
    margin-top: -5px;
    font-size: 1.5rem;

    @include respond(md) {
        font-size: 1.6rem;
    }
}
|
再修改"article-details",加上"article-subtitle"(layouts/partials/article-list/compact.html)
1
2
3
4
5
6
7
8
9
|
<div class="article-details">
    <h2 class="article-title">
        {{- .Title -}}
    </h2>
    {{ with .Params.description }}
    <div class="article-subtitle">
        {{ . }}
    </div>
    {{ end }}
|
字数统计
在页面下方显示文章数目和总体字数(layouts/partials/footer/footer.html)
1
2
3
4
5
6
7
8
9
|
<!-- Add total page and word count time -->
<section class="totalcount">
    {{$scratch := newScratch}}
    {{ range (where .Site.Pages "Kind" "page" )}}
        {{$scratch.Add "total" .WordCount}}
    {{ end }}
    发表了{{ len (where .Site.RegularPages "Section" "post") }}篇文章 ·
    总计{{ div ($scratch.Get "total") 1000.0 | lang.FormatNumber 2 }}k字
</section>
|
修改风格(assets/scss/partials/footer.scss)
1
2
3
4
5
|
.totalcount {
    color: var(--card-text-color-secondary);
    font-weight: normal;
    margin-bottom: 5px;
    }
|
正文内容显示修改
图片圆角阴影和代码块样式(assets/scss/custom.scss)
 1
 2
 3
 4
 5
 6
 7
 8
 9
10
11
12
13
14
15
16
17
|
.article-page .main-article .article-content {
    img {
        max-width: 96% !important;
        height: auto !important;
        box-shadow: 0 0px 14px 2px #aeaeae85;
        border-radius: 8px;
    }
}

[data-scheme=light] .article-content .highlight {
    background-color: #ecf2ff;
}

[data-scheme=light] .chroma {
    color: #a076f9;
    background-color: #ecf2ffcc;
}
|
添加网站追踪
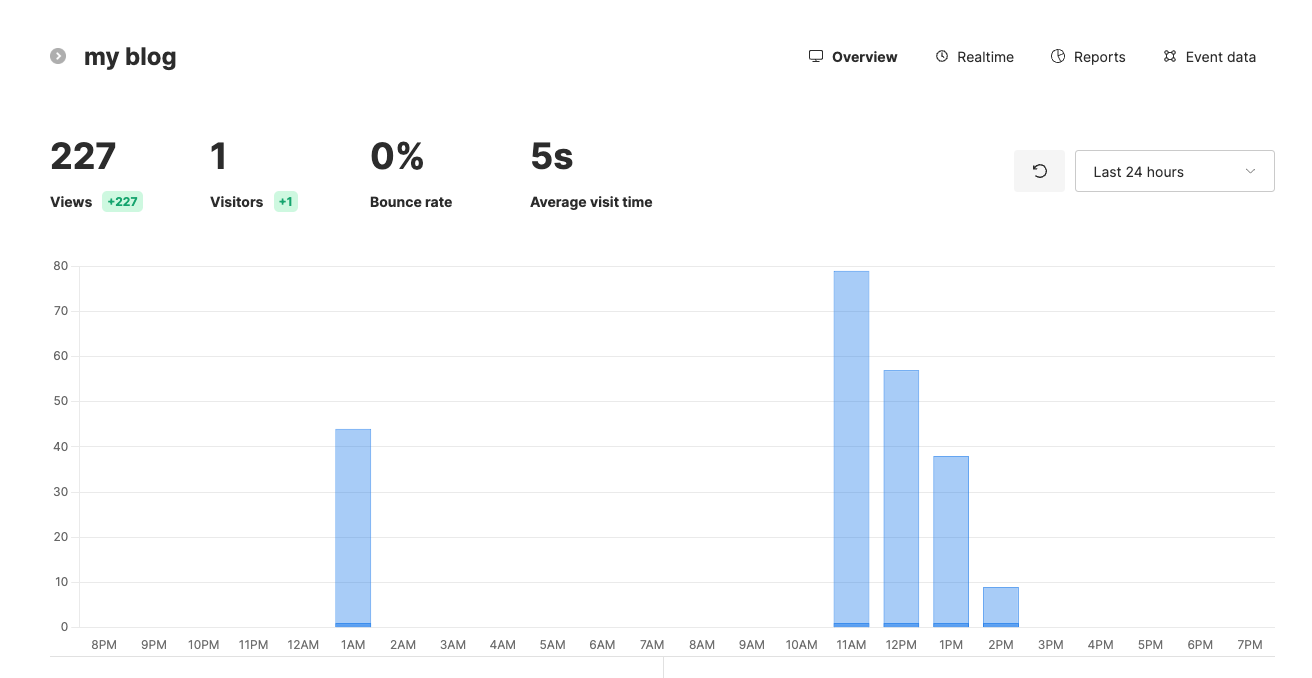
原来的博客有用过Google analysis,这次换了umami,注册使用很简单。

添加评论
使用waline系统。根据指导,先创建一个LeanCloud国际版作为数据库,然后使用Vercel部署服务端。完成之后进入settings->Domains,vercel.app结尾的地址即为serverURL。注册好管理员就可以查看评论。
配置到博客(config.yaml)
 1
 2
 3
 4
 5
 6
 7
 8
 9
10
11
12
13
|
        waline:
            serverURL: 填入serverURL
            lang: zh-cn
            pageview:
            emoji:
                - https://unpkg.com/@waline/emojis@1.0.1/weibo
            requiredMeta:
                - name
                - email
                - url
            locale:
                admin: Admin
                placeholder:
|
添加聊天气泡
使用的是日本的channel.io。注册完进入设置,General->Manage Plug-in->Install plug-in for web->Javascript,复制代码到layouts/partials/footer/custom.html完成。

参考链接


